
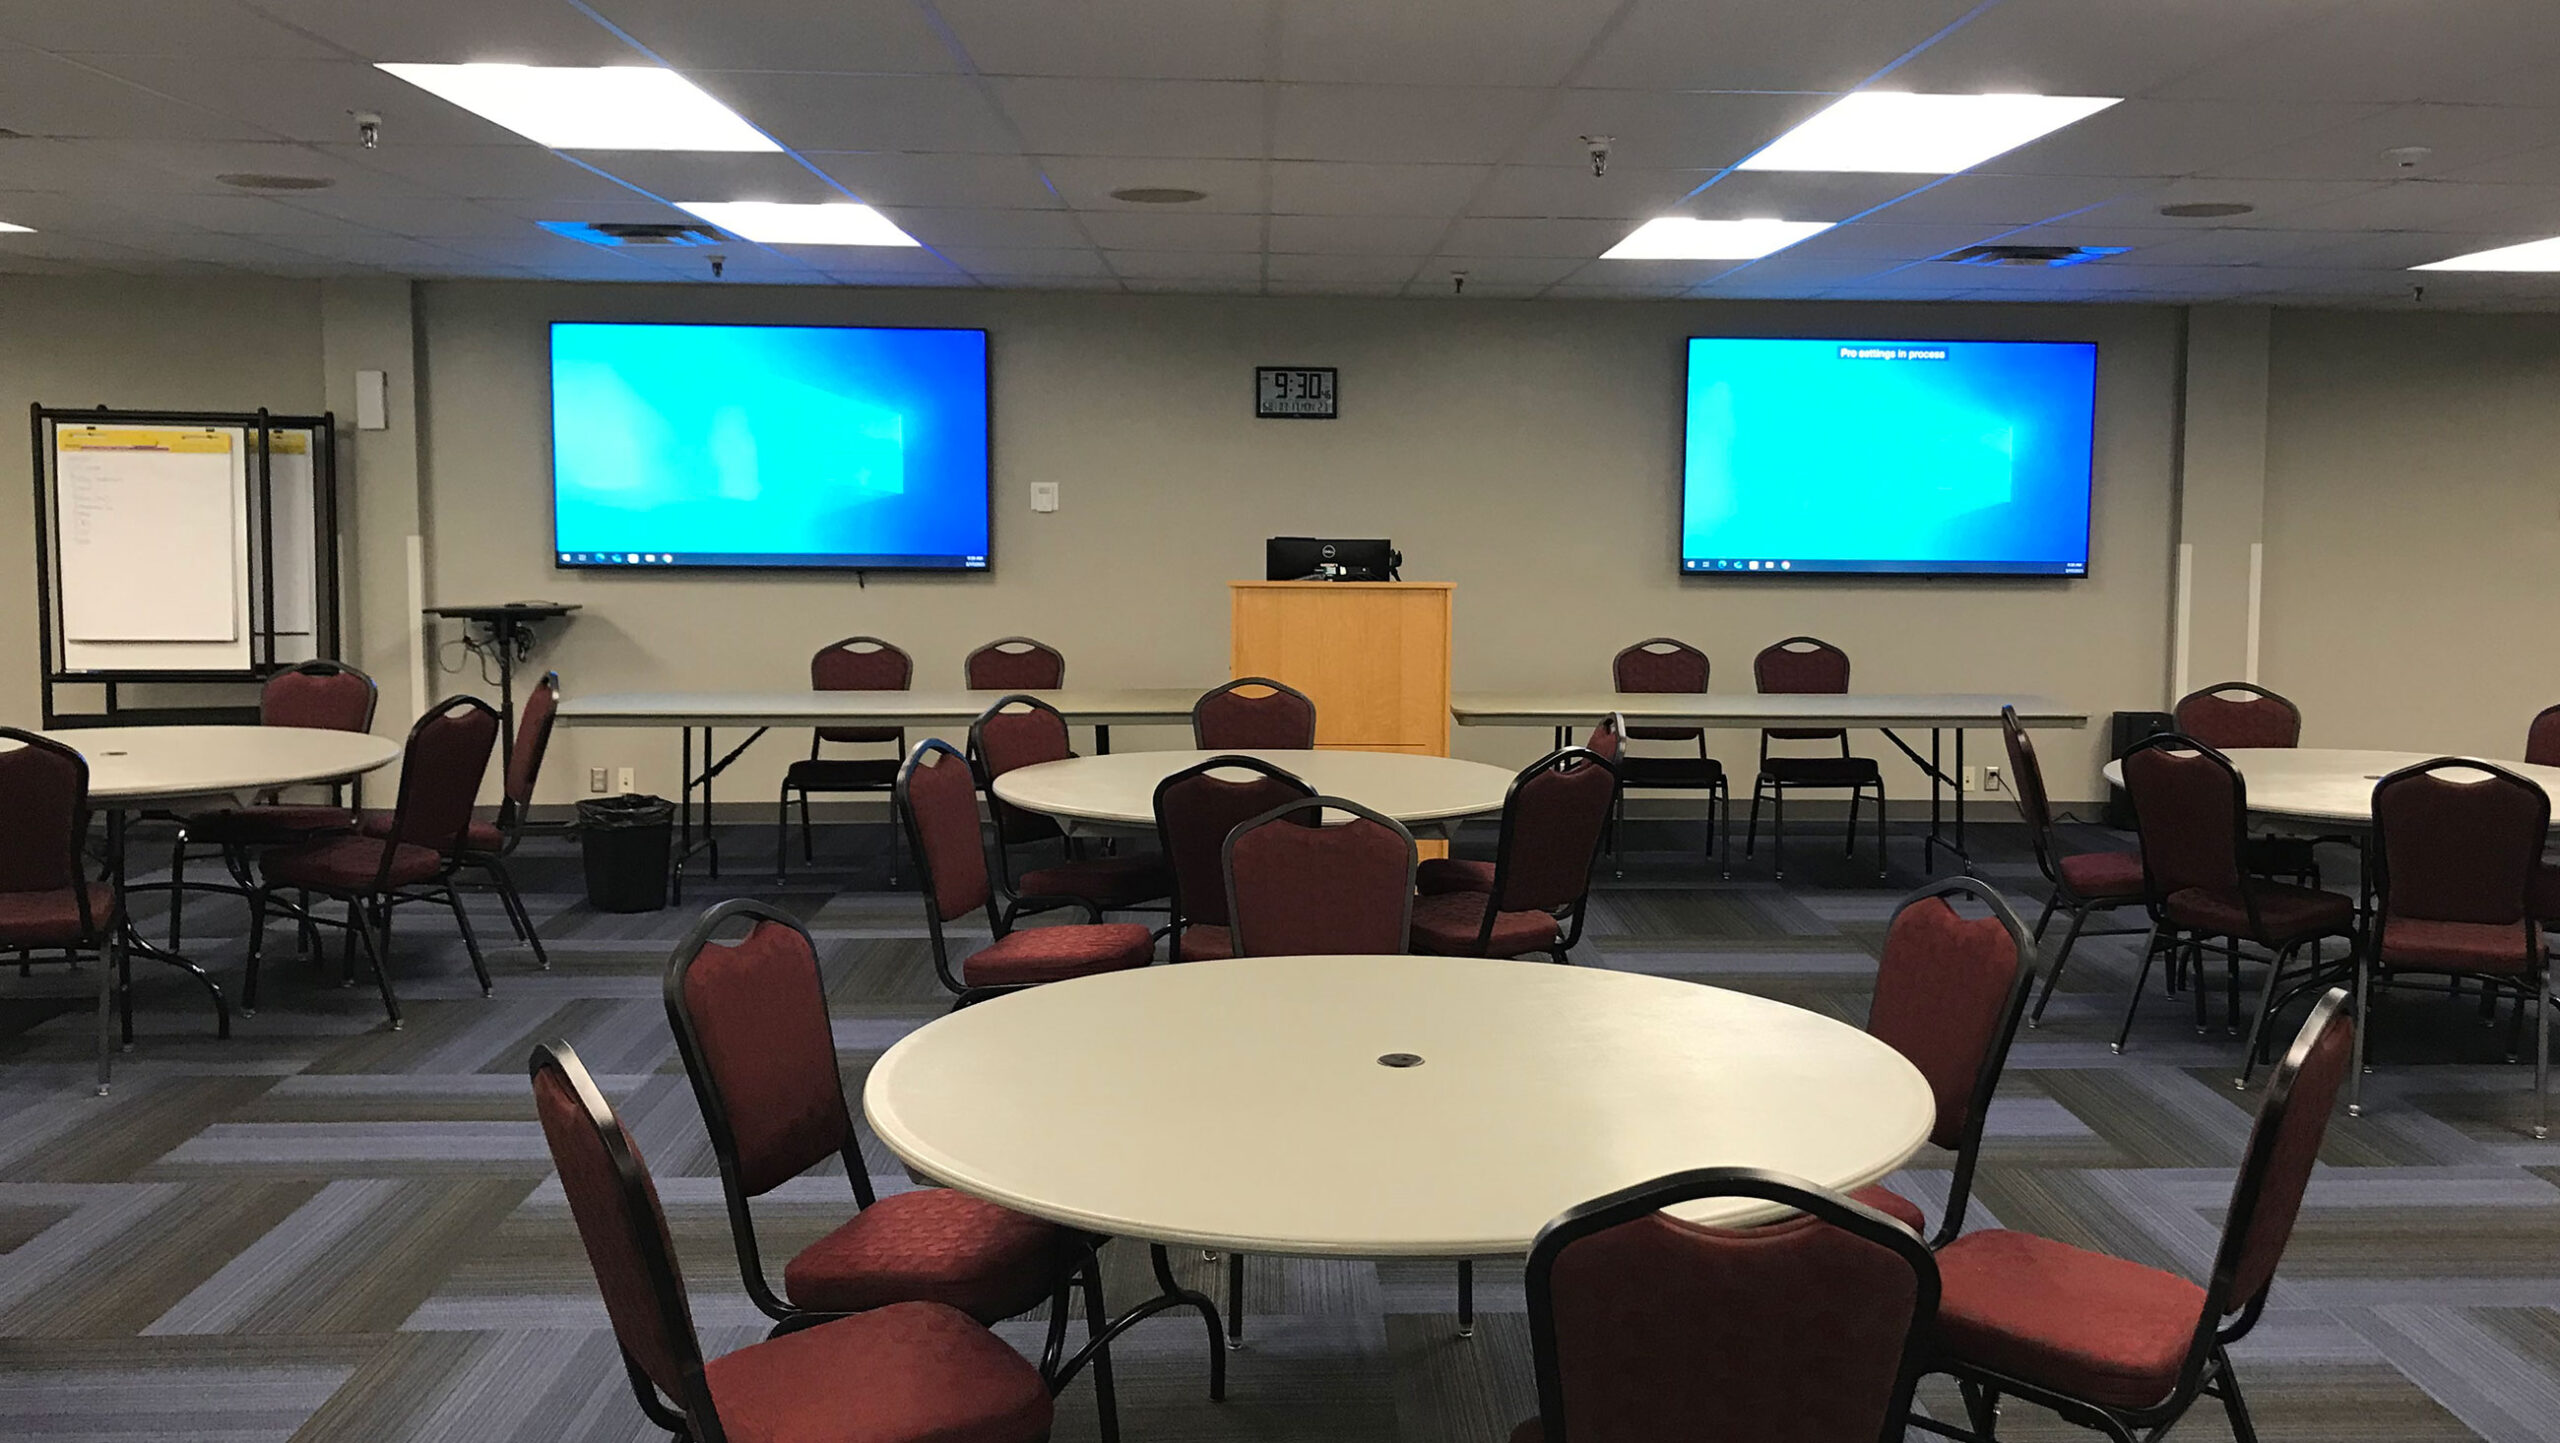
The Grand Room contains four large Presenter Screens at various positions throughout the room that are visible to all audience members.
Presenters have several options for using these screens to display any slides or other materials they may have for their event.
How they work
Screens can be turned on individually using the provided remote that can be found on the presenter’s podium. This remote will work for all four screens.
Options for Presenting:
- Bring your own laptop and cast it to the presenter screens using either the HDMI cord on the left side of the presenter’s podium labeled “Laptop” or the Click-Share button.
- Sign in to the Microsoft 365 or other account where your presentation is stored and download it to the room computer.
- Training Coordinators recommend downloading your presentation from OneDrive or whatever presentation software you prefer, rather than trying to run your presentation out of the cloud. This tends to yield better results with fewer connection issues or other loading problems.
- Bring a USB drive with your presentation materials and plug it into the USB port on the right side of the presenter’s podium.
- Send your presentation materials to the Training Coordinator associated with your event and they will load it onto the desktop for easy access when you arrive at the Training Center.
Using the Presenter Screens:
First:
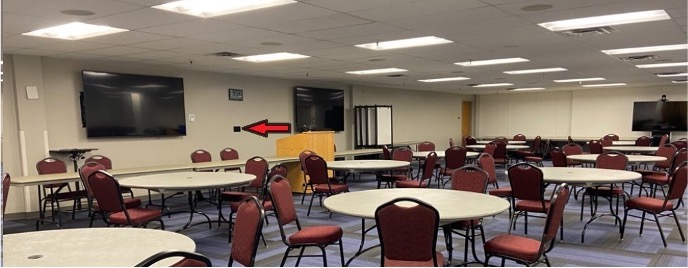
Locate the AV Console between two large screens mounted on the west wall of the Grand Room.
Second:
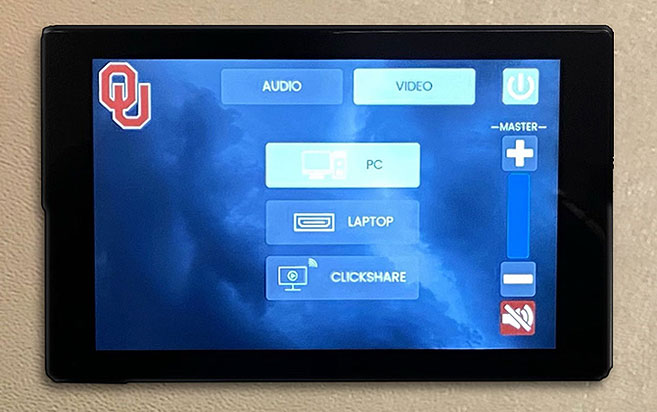
When you are ready to present, you can select the option you have chosen from the AV Console behind the podium.
After Pressing the main OU splash screen the video options will appear. The first option, PC, represents the PC on the podium. The second option, Laptop, represents your computer, if you chose to bring one. The third option, Click-Share, will share the computer screen you choose.
Using the Grand Room PC:
You can pull up all your materials and organize them on the main desktop screen.
The presenter screens are set up to act as a second display on the right of the desktop monitor. This means that when you’re ready to present, you can use the mouse or keyboard to drag your presentation or other materials off the desktop screen to the right in order to display them on the presenter screens.
- Drag and drop involves clicking and holding the title bar of the window and dragging it to the desired monitor. Keyboard shortcuts involve using the Windows key + Shift + Left/Right arrow keys to move the window to the adjacent monitor.
Your audience will only be able to see what is on the large presenter screens, and you can keep whatever notes or other materials you need on the desktop screen for your use.
Using your Laptop (Either HDMI or Click-Share):
If you are using your own laptop, your entire screen will be projected onto the presenter screens, so it’s a good idea to have your presentation up and running before you plug your computer in and switch to the correct input on the AV Console.
If you need to charge your laptop while presenting, there is a plug available on the left side of the podium.
Some best practices for presenting:
- Have any outside video links, such as YouTube videos, pulled up in a separate browser tab, even if they are embedded into your slides. This will serve as a backup in case the video has any trouble loading from within your presentation.
- Arrive early to test out your videos on the presenter screens and make sure they load properly and that the sound works and is set up in the way that you want it to be.
- Volume should be adjusted on the computer first, but audio settings for the Grand Room can be changed from the AV Console behind the podium using the Audio tab.
- Some people prefer to use “Presenter Mode” in PowerPoint; this allows you to see your notes, a presentation timer, and other helpful features while your slides are displayed full-screen onto the large presenter screens.